Wednesday, April 24, 2013

Spraying a Custom Finish - Part FOUR

When are we actually going to get to see you spray a finish, Jon?

Now


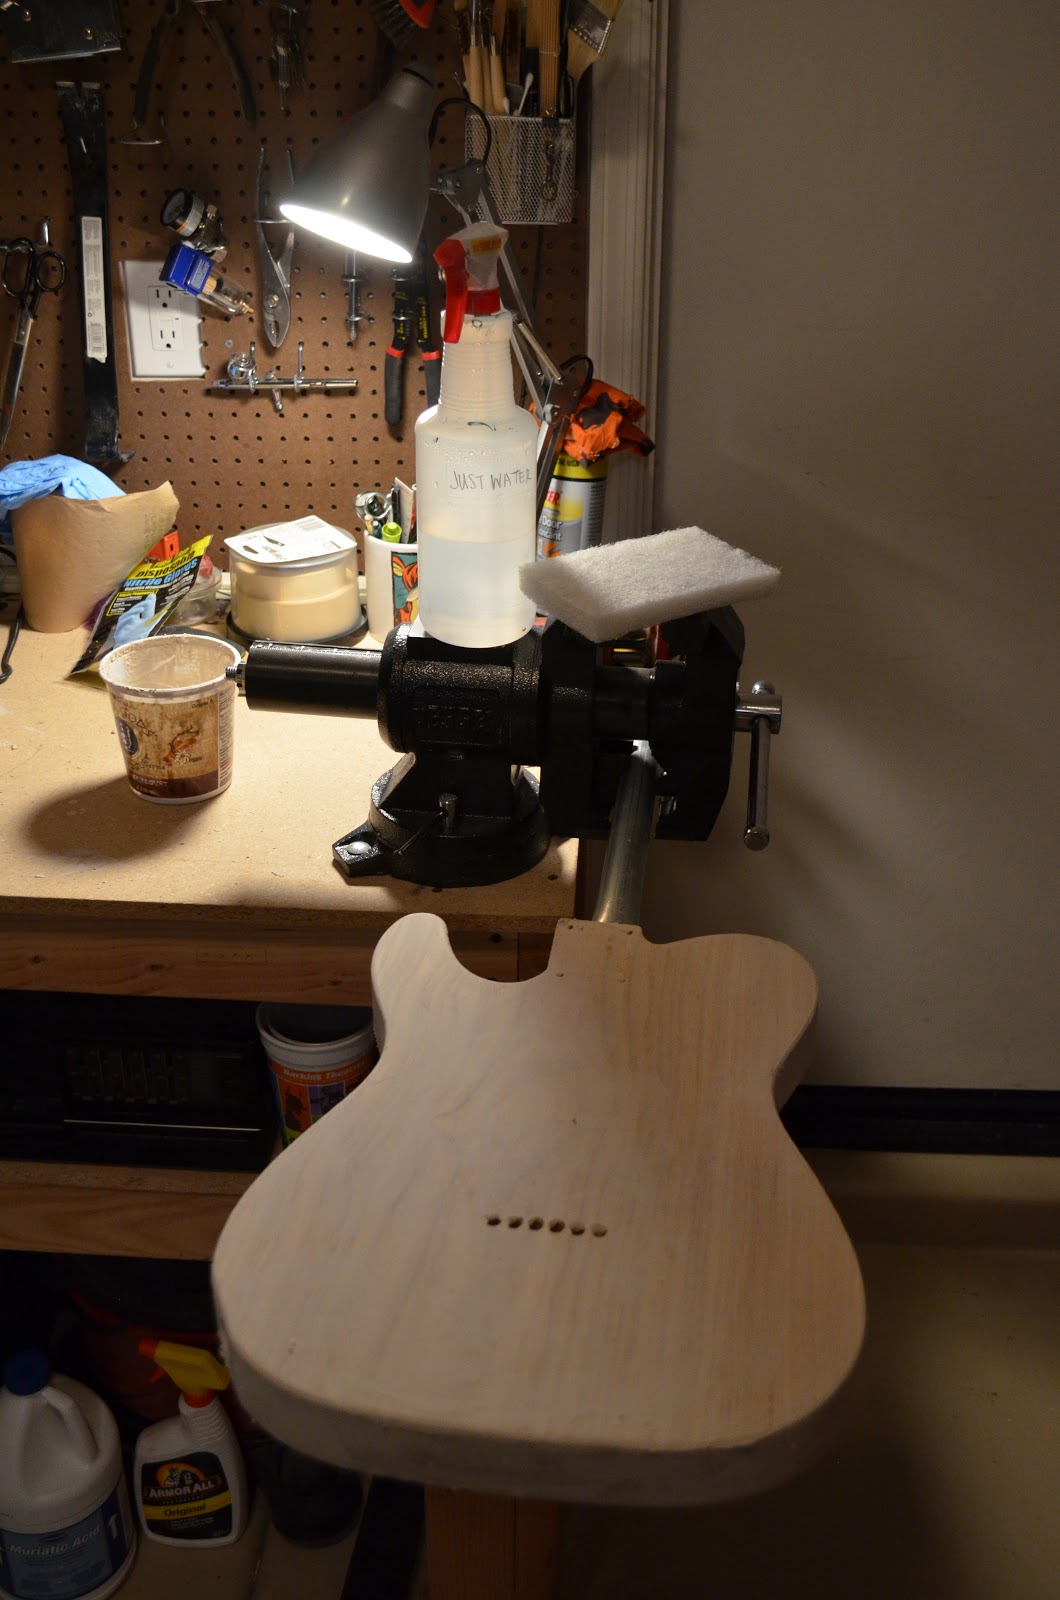
The first step in the blond finish is the white under layer. White helps to reflect light back to the eye, so any transparent finish we spray over white will look that much more vibrant to our senses. Here I mixed up lacquer 2:1, meaning one part lacquer, 2 parts lacquer thinner (use the same brand by the way, or you could end up with problems). Then I added about a tablespoon of white pigment (from StewMac) and shook it up. This first batch was mixed in the spray gun itself, which I do not recommend. The white pigment is very heavy, and will sink immediately to the bottom of any receptacle, which in this case meant all the white went directly down the gun toward the spray nozzle. My first few squirts were almost opaque white! My bad. After that debacle, I started mixing my lacquer in an old jar, then pouring it into my gun. Much better.


So here we are after sanding the grain filler - you can see the sheen of the vinyl sealer just coming through.


and here is the last coat of vinyl sealer. Ready for blond!


And I got greedy. You have to be very careful when you spray the white, and the next step -toner, not to spray too much and create runs - like I did here. If I had just waited for it to dry, then sprayed another light coat, there would be no issue. But I just had to get it done tonight. Oh well. Better push your schedule back another day, Jon cause you just earned yourself a day worth of sanding to fix these runs. BOO!


Here you can see my device for sanding small areas. I tore off a small piece of sandpaper (this is 400 grit, by the way, 220 was too much) and i rolled a piece of tape sticky side out around my finger, then stuck it to the back side of the paper. Works great! 


Sanding...


More sanding...


Almost there!


So this was a bummer - as I was sanding the runs out of the neck area, I accidentally brushed the back of the guitar body against my HVLP gun holder and dinged it. Hopefully I can fill this in with lacquer. Otherwise, I guess it's the first of many dings, dents and scratches. Guess it's a relic guitar after all.


I ended up having to use the airbrush to spray more white in the places where I sanded through. I think I got it pretty much even. 


Here's a flash coat of white to blend in my airbrush fixes. VERY VERY light.


Pretty good? I think so. Now on to the vintage toner to make this thing look 50 years old.


Spraying a Custom Finish - Part THREE

Nice - everything is clean and prepped. Well, almost. Since I am using an all maple neck, as original, it won't need to be grain filled. The pores in maple are tight enough that grain filling wouldn't really accomplish anything, so I'll skip that step. The ash body (one piece swamp ash, as original) is another story. This wood has loos grain that would leave giant craters in the final finish if left alone. Part of the look of these original blond teles, too, is the fact that neutral grain filler was used under the finish. The white-grey color of the grain filler almost gives a bit of a "pickled" look to the grain.


Oh yeah, I taped off the neck pocket on the body and the neck at first. Tone-wise, it's been said to keep a good wood-to-wood connection in the neck pocket. I actually ended up taking the tape off of the neck and spraying it all with lacquer. I didn't want an edge where the lacquer left off and the bare wood began. I'm keeping this finish super thin anyway, so I thought I'd be fine untaping the neck. I did leave the neck pocket of the body masked off, though. When I dry fit all the parts, the neck was already a very snug fit, and I was afraid of making it so tight that the finish might crack. We'll see, I may need to do some sanding there during the set up.


Now we're grain filling. The trick here is to squeegee filler into the grain (I used an old credit card) while scraping the excess off the top at the same time. Do this ACROSS THE GRAIN. Otherwise, you'll pull your filler out of the grain you just laid it in. Your consistency here is extremely important, and since this stuff is water soluble, and I live in the desert, I had to work fast. You're looking for a jam-like consistency - too thick won't stuff the pores, and too thin will just soak the wood.


This is a messy job at first. Mind the edges and weird curves - look at it in different types of light (sunlight, artificial) to see your missed spots.


After you slather it on, it should look something like this.


Or this. 


Now, let that dry for an hour or so, and come back with a white scotch brite pad and a spritzer of water. Spritz your pad, and LIGHTLY work the grain filler around on the surface of the guitar. You ARE NOT sanding here. No hand pressure is needed. You are simply reactivating the grain filler, and moving it around until you get a smooth, even surface. Look for areas that seem whiter than others, and smooth them until you see wood grain reappear. Let that dry overnight.


I ended up filling in all of my pre-drilled holes, and these string-thru holes. You'll want to take care of these now, with a small scraper. I used the back end of and ex-acto blade. The small pre-drilled holes I'll deal with after the finish cures.

Then give her a light sanding (no pressure again) with 220 until you see the haze of the grain filler give way to the satin sheen of your vinyl sealer. BE CAREFUL NOT TO SAND THROUGH TO THE BARE WOOD. Not a huge deal here, but if you had stained the bare wood previously, it would make fixing a sand through EXTREMELY difficult.

Once everything is sanded down nice and smooth, blow off your piece with the air hose - get up close so you can get all the nooks and crannies cleaned out, but don't hit the wood with your air hose, you could marr the surface. Are you still wearing rubber gloves? Good. Never let your bare hand touch the surface while you're finishing. Spray another light coat of vinyl sealer here to help the water based grain filler blend with the nitrocellulose lacquer you're about to spray. 

Spraying a Custom Finish - Part TWO

OK - time to get busy! First things first, we need to clean the pieces of contaminants so our finish will be able to apply evenly. I combined this step with raising the grain and lightly sanding the grain down flush.


Start with Naptha - this is basically lighter fluid - very flammable! 


Wipe down the entire thing with a Naptha soaked rag, then LIGHTLY sand with 220. The Naptha removes all the waxes from your piece. Warmoth parts come very well prepped - I probably would've been ok just skipping to the finish, but I had no idea what kind of tools they used during production (grease, oils) or how many people handled this thing before I got to it (your hands have lots of oils on them, even clean ones. WEAR GLOVES!!) so I didn't want to take any chances here. For the sanding, I didn't need to apply any downward force, just the weight of my rubber sanding block was enough. When you wipe down the piece, you'll be able to see little furrs of wood grain start to pop up - this is what you're sanding down flush.


Next step is removing any oils - the book says use mineral spirits, this wax remover I had laying around is almost 90% mineral spirits, so I used it instead.


Now, wipe down with some generic ammonia to remove any mineral spirits and silicone left. You're supposed to knock it back with water (1/4 cup ammonia to 1 quart water). I forgot to do this, and used straight ammonia. no issues, really, other than the smell, and it may have just slightly yellowed the wood, but that's the look I was after anyway, so I didn't mind.


Here's my sanding block


After all that has dried, bust out the old wood filler! For this finish (Vintage Blond) I used neutral filler, which looks sort of whitish-grey. Timber mate is the best! This stuff is well worth the money! StewMac was all sold out, but woodcraft had it super cheap and they shipped it to me in like 3 days!


Here, I sprayed a very light, very thin layer or two of vinyl sealer. This helps with adhesion and gives you something to sand down to when smoothing out your grain filler. It will look like it's just soaking into the wood, which is good! Shoot for a satin-like finish here, not too thick, not too thin.

Here's my cheap-o HVLP gun I bought from wal-mart. It's a Campbell Hausfield. Works great!
More on grain filling and finish application next time. Cheers!

Spraying a Custom Finish Part ONE

So - I was dumb enough to buy my tele parts unfinished, thinking that I would be able to finish them myself. This way, I could get a custom finish and not spend a bunch of money paying warmth to spray the parts for me. This kind of thinking will get you in trouble. No, not really, but you need to know what you're getting yourself into. This kind of thing really isn't too difficult if you've done any sort of painting with an HVLP gun before, and of course, if you've got the tools.

YOU ABSOLUTELY, POSITIVELY NEED A GOOD AIR COMPRESSOR TO DO THIS! Don't even try it if you don't. Apparently, StewMac sells aerosol cans that can accomplish the same task, but they are unreliable and take more time. I chose to spray with the gun.

Here are a few tools I had to build for holding the work - some I used, some I didn't.


All of this is in the book - but this thingie above is a small chunk of electrical conduit which I smashed on one end with my vise, and drilled a few holes (aligned with the neck pocket holes) in order to hold the body while painting. This thing got used A LOT!


The one thing the book DOESNT give you is the size of screws needed - if you click the image above, you can see what worked for me. I got these at Home Depot for a few bucks.


I also got this threaded rod in order to hold the neck while spraying. This ended up being just a tad small, and dinging the wood on the underside very slightly, but you'll only see it if the neck is off, so I didn't mind.


 So I built this contraption out of 1" plumbing materials and a cheap lazy susan from wal-mart. It works, but only if you mount your lazy susan to a workbench or something solid in order to counter act the weight of the body (cantilevered off to one side).

So here is a very important safety note - I had originally planned on spraying lacquer in my garage, until I realized that nitrocellulose lacquer fumes and vapors are EXTREMELY FLAMMABLE. I have a gas water heater in my garage, which means there is a pilot light on ALL THE TIME. Pilot light=flame. Flame + Lacquer Vapors = BOOM. Bad, real bad.

Here's what I came up with after talking to my friends at Bronson Guitar Works in Scottsdale, AZ. They do great work, by the way, and have been really good to me. 

 I would have to spray outside. This way the fumes would not be near an ignition source. We decided that once sprayed, however, it was safe to hang the guitar pieces in the garage. So, my cool new contraption didn't really get used, but if you have a different situation, or if I were spraying waterbased lacquer - which I will definitely try next time - it could come in real handy.

Next - mixing, testing, spraying!

Wednesday, April 3, 2013

Disassembly and Destruction


Here I am slowly taking all the hardware apart. Why you ask? Because I decided on a set of pickups!


Here they are - Seymour Duncan Antiquity pickups for telecaster - they emulate the original pickups from a 1953 tele. There are a ton of options here, and it was hard for me to choose, but ultimately, I decided this guitar was going to have vintage voicing. The body I got from Warmoth is built to exact vintage specs, which also meant a shallow pickup cavity, and I didn't want to chance having expensive pickups with no where to go! Plus, I think those old guitars sound killer! I can't wait to plug this thing in already!

I didn't set out to make this project a "relic" guitar, but the antiquity pickups come pre-relic-ed, so I didn't want them to look out of place. I was going to have to do a little scuffing.


Here is the bridge all taken apart.


And here is the bridge scuffed with the green scotch brite pad.


Neck plate before...


Neck plate after.


Then I threw all of the parts into a wooden box and shook 'em around to get some random dings and dents.


I also put the parts through a hydrorchloric acid treatment. You can youtube it. The trick I found was a bit of heat from the sunshine makes the process much quicker. Mid-day, you only need about 20-30 minutes in the tub to get some good results. Be sure you put the parts in a small tub, then put that tub in a larger one, and close the lid on the larger tub. You just want the fumes to affect your pieces. And don't breathe the fumes! Nasty stuff.


Next up, I try the Dan Erlewine fix for sticking, squeaking Bigsby tremolos. Custom, custom, custom - just the way I like it!

Prepping the original style bridge for a Bigsby B5


 I had to notch out the bridge plate here in order to make room for the strings to come across from the bigsby.


What I did was mark the string placement according to the string-thru holes at the bottom of the bridge plate (see below) and notch the top of the plate with a V-shaped file. Then I took my trusty dremel to it, and squared everything off, then rounded the edges over so it's palm-friendly. Hope it works!!


I may have to notch the bridge itself in order to keep the strings in place even while the bigsby is in operation. To be continued...